React Native Push Notification

Sebelum mulai tutorialnya, silahkan install package React Native Push Notification (react-native-push-notification) dan buat akun di Firebase Cloud Messaging.
Install & Settings
Pertama, add/install react-native-push-notification ke project
yarn add react-native-push-notificationdi file android/build.gradle, tambahkan:
buildscript {
	ext {
		googlePlayServicesVersion = "16.1.0" // tambahkan ini, bisa sesuaikan versinya
    firebaseVersion = "17.3.4" // tambahkan ini, bisa sesuaikan versinya
	}
	dependencies {
    classpath ('com.google.gms:google-services:4.3.3') // tambahkan ini
  }
}
selanjutnya, di file android/app/build.gradle, tambahkan
dependencies {
  ...
  implementation ('com.google.firebase:firebase-analytics:17.3.0') // tambahkan ini
  implementation platform('com.google.firebase:firebase-bom:31.0.0') // tambahkan ini

  implementation 'com.google.firebase:firebase-functions' // tambahkan ini
  implementation 'com.google.firebase:firebase-messaging' // tambahkan ini
  implementation 'com.google.firebase:firebase-iid:21.1.0' // tambahkan ini
  ...
}

apply plugin: 'com.google.gms.google-services' // tambahkan ini
selanjutnya di file android/app/src/main/AndroidManifest.xml, tambahkan sebelum
<!-- Change the value to true to enable pop-up for in foreground on receiving remote notifications (for prevent duplicating while showing local notifications set this to false) -->
<meta-data android:name="com.dieam.reactnativepushnotification.notification_foreground"
           android:value="false"/>
<!-- Change the resource name to your App's accent color - or any other color you want -->
<meta-data android:name="com.dieam.reactnativepushnotification.notification_color"
           android:resource="@color/white"/> <!-- or @android:color/{name} to use a standard color -->

<receiver android:name="com.dieam.reactnativepushnotification.modules.RNPushNotificationActions" android:exported="false"/>
<receiver android:name="com.dieam.reactnativepushnotification.modules.RNPushNotificationPublisher" android:exported="false"/>
<receiver android:name="com.dieam.reactnativepushnotification.modules.RNPushNotificationBootEventReceiver" android:exported="false">
    <intent-filter>
         <action android:name="android.intent.action.BOOT_COMPLETED" />
         <action android:name="android.intent.action.QUICKBOOT_POWERON" />
         <action android:name="com.htc.intent.action.QUICKBOOT_POWERON"/>
     </intent-filter>
</receiver>

<service
   android:name="com.dieam.reactnativepushnotification.modules.RNPushNotificationListenerService"
   android:exported="false" >
   <intent-filter>
      <action android:name="com.google.firebase.MESSAGING_EVENT" />
   </intent-filter>
</service>
lanjut bikin file android/app/src/res/values/colors.xml, lalu isi file tersebut dengan
<resources>
    <color name="white">#FFF</color>
</resources>
Push Notification Services
selanjutnya bikin push notification service yang akan dipakai untuk menerima notification dari firebase. buat file app/services/PushNotification.js
// PushNotification.js
import React, { useEffect } from 'react'
import PushNotification from 'react-native-push-notification'

PushNotification.configure({
    // (required) Called when a remote or local notification is opened or received
    onNotification: function(notification) {
        console.log('LOCAL NOTIFICATION ==>', notification)
    },

    popInitialNotification: true,
    requestPermissions: true
});

PushNotification.createChannel(
    {
        channelId: "rubberman-channel-id", // (required)
        channelName: "Rubberman notification", // (required)
        channelDescription: "A custom channel to categorise your custom notifications", // (optional) default: undefined.
        soundName: "default", // (optional) See `soundName` parameter of `localNotification` function
        importance: 4, // (optional) default: 4\. Int value of the Android notification importance
        vibrate: true, // (optional) default: true. Creates the default vibration patten if true.
    },
    (created) => console.log(`createChannel returned '${created}'`) // (optional) callback returns whether the channel was created, false means it already existed.
);

export const LocalNotification = () => {
    PushNotification.localNotification({
        autoCancel: true,
        bigText: 'This is local notification demo in React Native app. Only shown, when expanded.',
        subText: 'Local Notification Demo',
        title: 'Local Notification Title',
        message: 'Expand me to see more',
        vibrate: true,
        vibration: 300,
        playSound: true,
        soundName: 'default',
        actions: '["Yes", "No"]'
    })
}

export const RemotePushController = () => {
    useEffect(() => {
        PushNotification.configure({
            // (optional) Called when Token is generated (iOS and Android)
            onRegister: function(token) {
                console.log('TOKEN:', token)
            },

            // (required) Called when a remote or local notification is opened or received
            onNotification: function(notification) {
                console.log('REMOTE NOTIFICATION ==>', notification)
                alert('notif has arrived: '+notification.message)
            // process the notification here
            },
            // (optional) Called when the user fails to register for remote notifications. Typically occurs when APNS is having issues, or the device is a simulator. (iOS)
            onRegistrationError: function(err) {
                console.error(err.message, err);
            },
            // Android only: GCM or FCM Sender ID
            senderID: 'SENDER_ID',
            popInitialNotification: true,
            requestPermissions: true
        })
    }, [])

    return null
}
Firebase Cloud Messaging
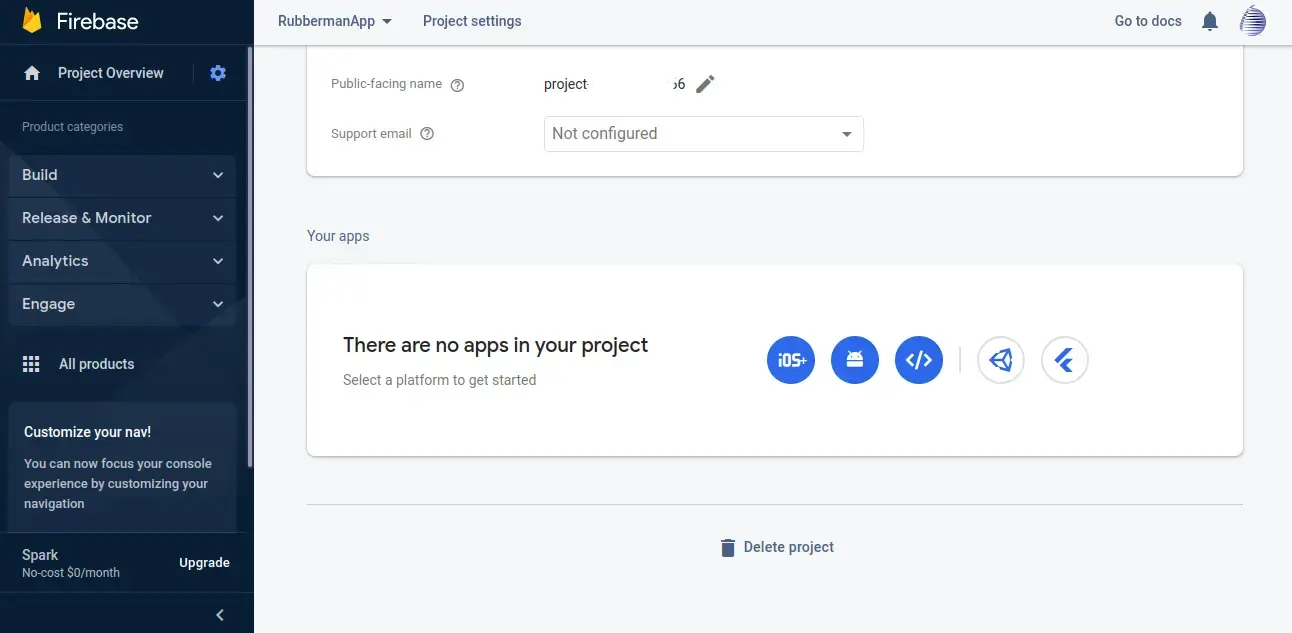
daftar/login ke FCM, lalu bikin project baru

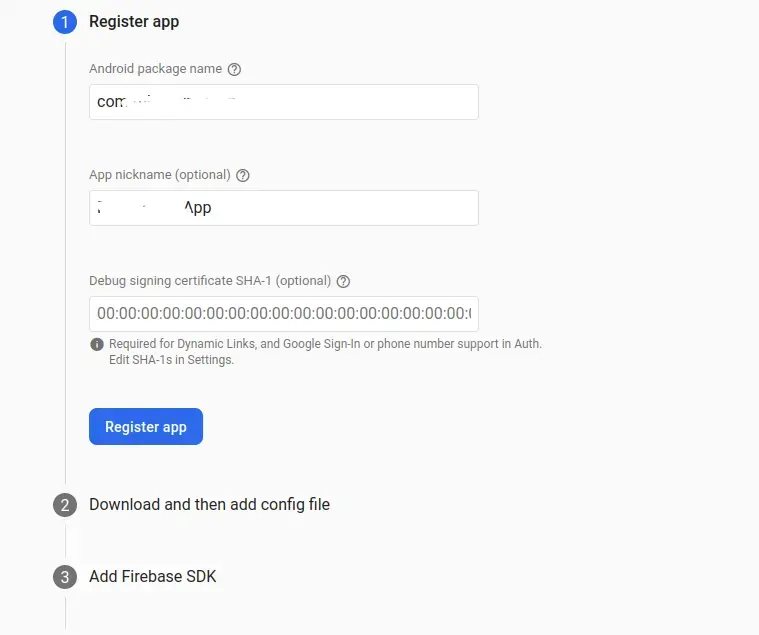
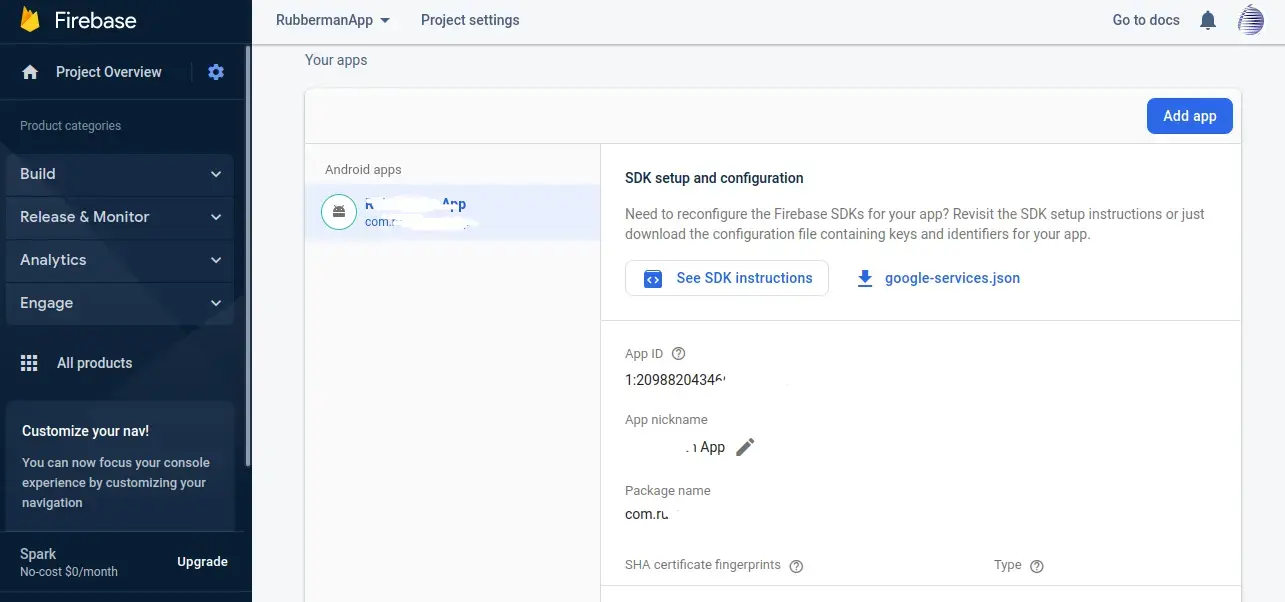
Masuk ke project setting → lalu tambahkan App baru. pilih yang logo Android
isi package name sesuai dengan package name di project android. klik register
pada step kedua, download file google-services.json, klik next sampai selesai
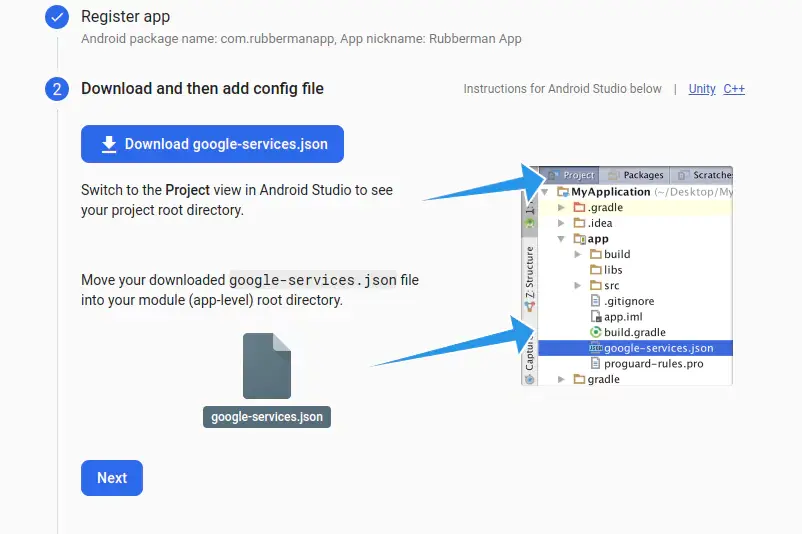
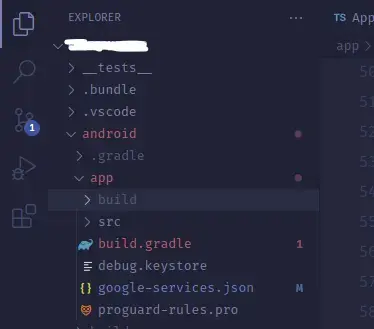
lalu pindahkan file tersebut ke folder app di dalam folder android
App yang sudah dibuat akan tampil di halaman firebase
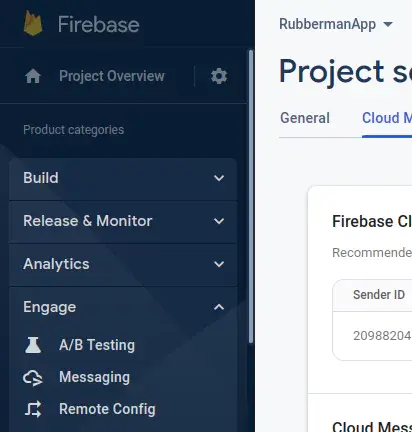
copy sender id ke file PushNotification.js yang sudah dibuat sebelumnya
Test Push Notification
- Via FCM
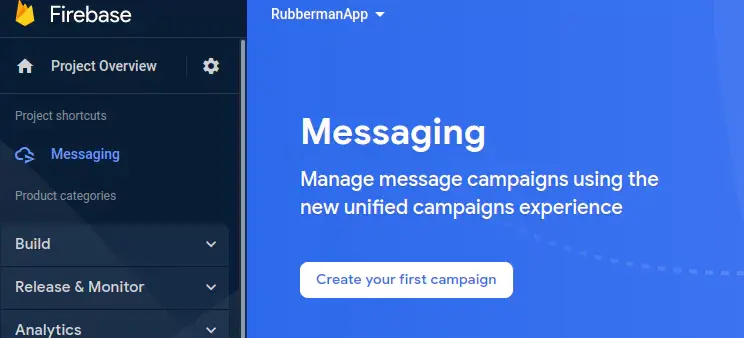
masuk ke menu messaging
masuk ke create your first campaign
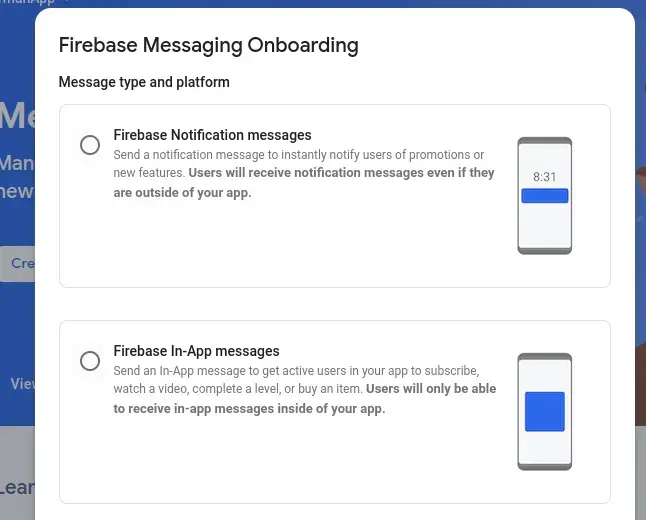
pilih Firebase Notification messages
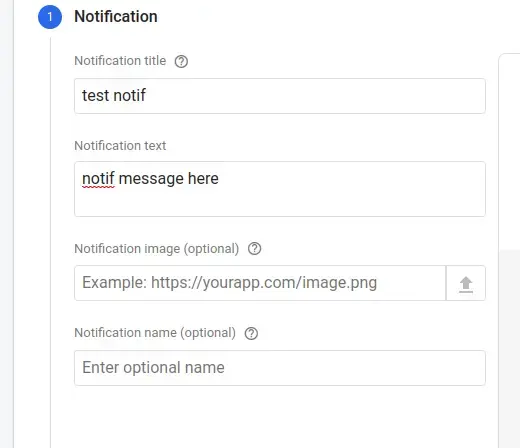
isi title & message, klik next
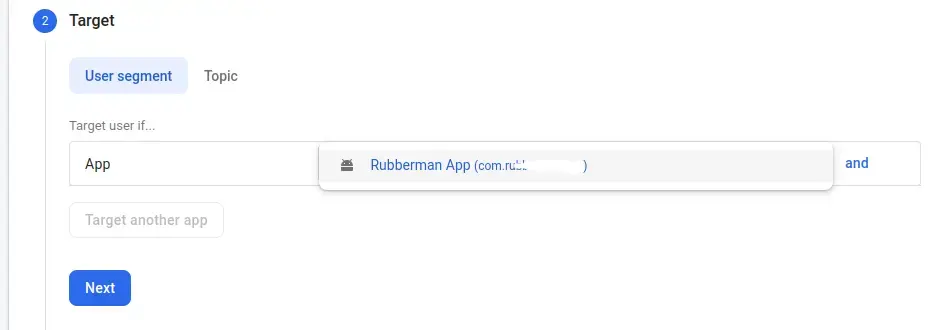
pilih app yang sudah dibuat tadi.
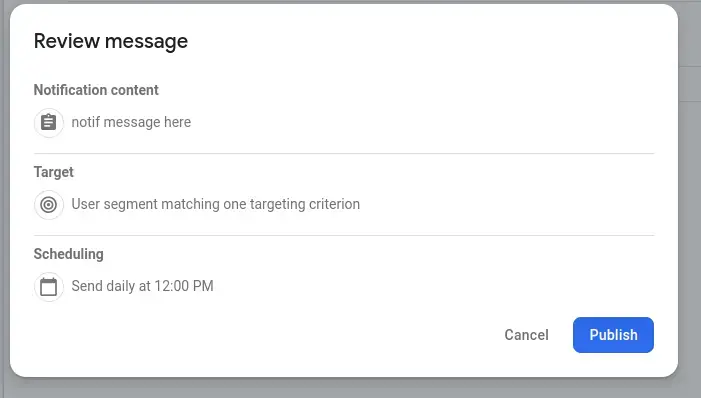
Next terus sampai review. lalu publish
Klik edit

klik tombol send tes message, lalu tambahkan token device. jika sudah ditambahkan, klik test
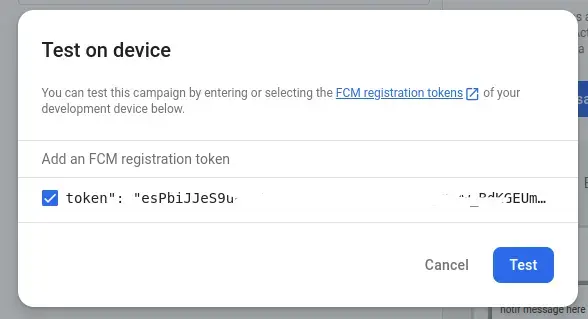
Token device bisa dilihat & di-copy di console Metro ketika run program android

- Via Http
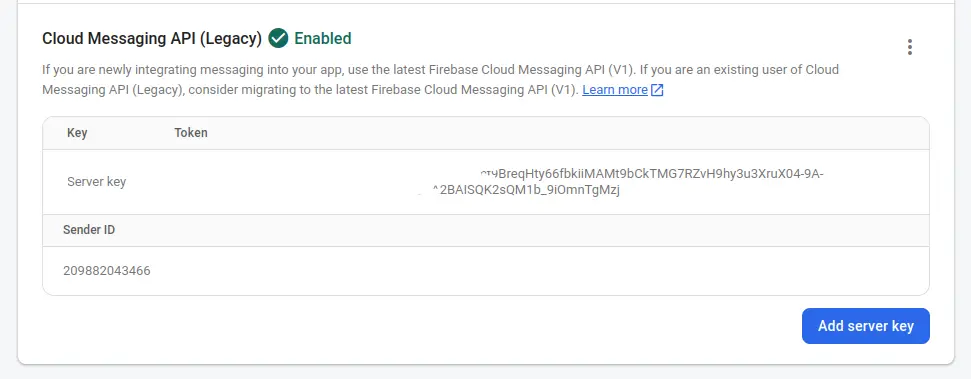
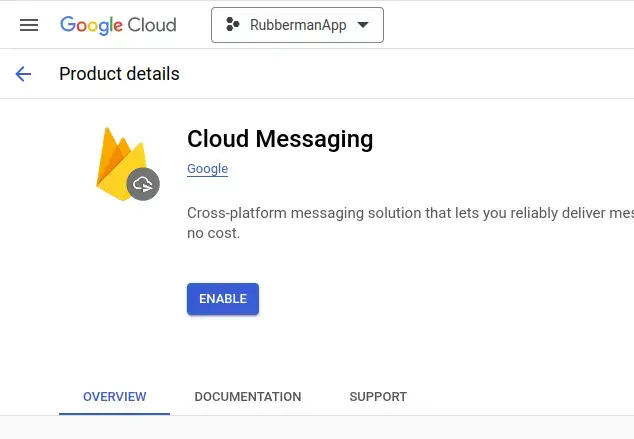
sebelum mengirim notif via http, aktifkan dulu Cloud Messaging API (Legacy)

klik Manage API in Google Cloud Console
enable API
copy paste di terminal
curl -X POST --header "Authorization: key=SERVER_KEY" \
    --Header "Content-Type: application/json" \
    https://fcm.googleapis.com/fcm/send \
    -d "{\"to\":\"TOKEN\",\"notification\":{\"title\":\"Hello\",\"body\":\"Yellow\"}}"
ganti SERVER_KEY dengan servery key dari FCM dan ganti TOKEN dengan token device
Server Key